Creative interior design isn’t about following a catalog or matching every pillow to your curtains. It’s about breaking predictable patterns, trusting your instincts, and turning rooms into spaces that reflect how you actually live. Whether you’re working with a tight budget or a blank-slate remodel, the best interiors come from thoughtful risks, mixing eras, layering textures, and choosing pieces that tell a story. This guide walks through practical ways to inject originality into your home without sacrificing function or blowing your timeline.
Table of Contents
ToggleKey Takeaways
- Creative interior design solves functional challenges while expressing personal taste through spatial problem-solving, material experimentation, and personal narrative.
- Bold color combinations thrive on tension and balance—use the 60-30-10 ratio as a starting point, then intentionally break it with accent colors in textiles and accessories.
- Layering contrasting textures like linen, velvet, raw wood, and brushed metal creates visual depth and keeps monochrome rooms from feeling flat.
- Repurposing and upcycling existing furniture and salvaged materials offers budget-friendly creative solutions while adding character that mass-market pieces cannot match.
- Focal points—whether accent walls, statement lighting, or large-scale art—anchor a room’s design and prevent spaces from feeling scattered.
- Personalize your space with collections, custom details, and meaningful pieces that carry memories, prioritizing lived experience over magazine-perfect styling.
What Makes Interior Design Truly Creative?
Creative design isn’t just about aesthetics: it’s about problem-solving with personality. A truly creative interior solves functional challenges while expressing individual taste. That might mean installing floating shelves to free up floor space in a narrow hallway or choosing a bold wallpaper that doubles as art in a room with no wall space for frames.
Creativity shows up in three key areas: spatial problem-solving, material experimentation, and personal narrative. Spatial problem-solving addresses layout quirks, odd angles, low ceilings, awkward doorways. Material experimentation involves pairing finishes that shouldn’t work on paper but look striking in practice. Personal narrative is the layer that makes a space unmistakably yours, whether that’s a gallery wall of flea market finds or a kitchen backsplash made from reclaimed tin ceiling tiles.
The difference between decorating and designing is intent. Decorating fills a room: designing shapes how the room functions and feels over time. Creative design anticipates how light shifts throughout the day, how traffic flows during a dinner party, and how a space adapts as needs change.
Breaking the Rules: Bold Color Combinations and Unexpected Palettes
Forget the old “three-color rule.” Creative interiors often thrive on color tension, pairing jewel tones with pastels, warm terracotta with cool sage, or deep charcoal with blush pink. The key is balancing saturation and scale. A small room can handle a saturated wall color if you keep large furniture pieces neutral. Conversely, a neutral room benefits from pops of intense color in textiles and accessories.
When choosing bold color combinations, consider the 60-30-10 ratio as a starting point, then break it intentionally. Assign 60% to your dominant color (often walls or large furniture), 30% to a secondary color, and 10% to an accent. Then add a fourth or fifth color in small doses, a throw pillow, a vase, or artwork, to keep the palette from feeling too calculated.
Paint sheen matters as much as hue. Matte finishes absorb light and make bold colors feel softer: semi-gloss or satin finishes reflect light and intensify color. Test samples on multiple walls and observe them in morning and evening light before committing to a gallon. One gallon of paint typically covers 350-400 square feet with one coat, but bold colors often require two coats for even coverage.
If you’re nervous about permanent color commitment, start with removable peel-and-stick wallpaper or painted furniture. A vintage dresser in a punchy coral or a credenza in deep teal can anchor a room’s palette without the long-term commitment of painted walls.
Mixing Textures and Materials for Visual Interest
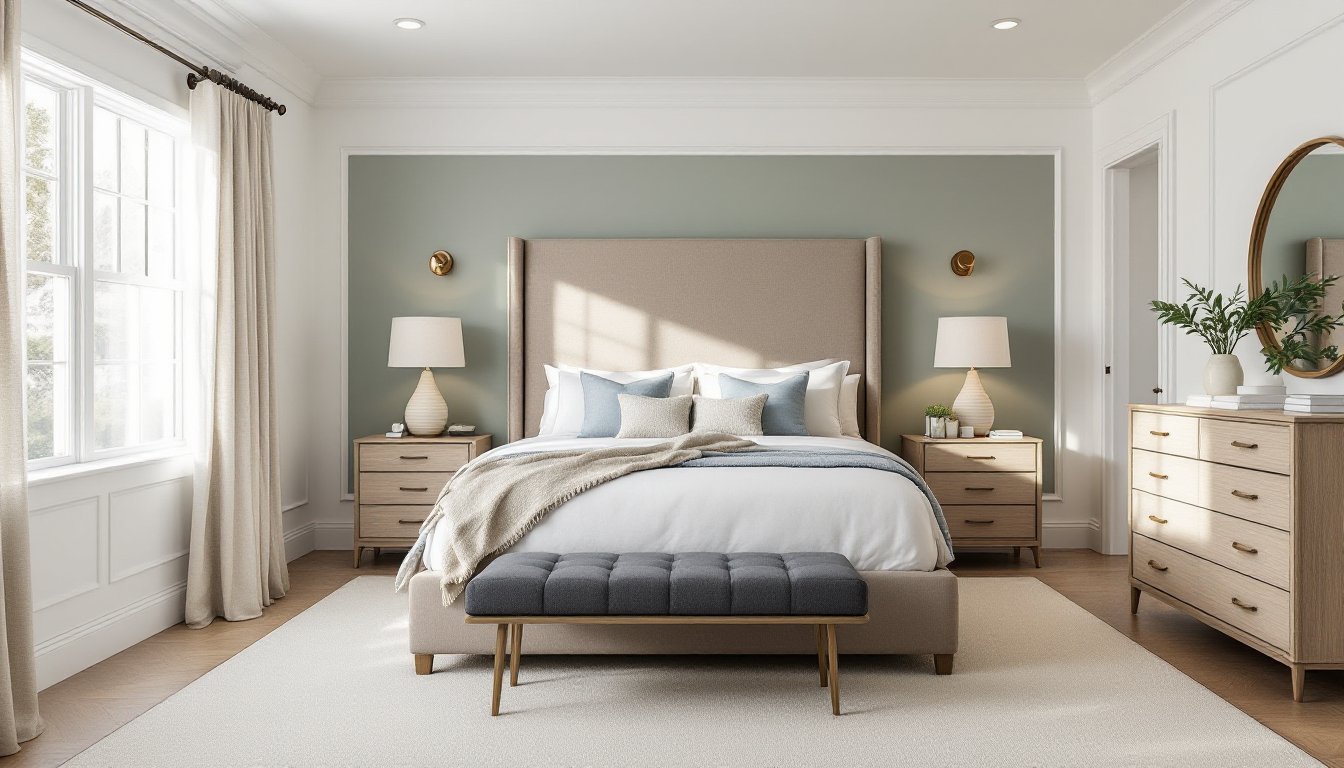
Texture creates depth in ways color alone can’t. A monochrome room stays interesting when you layer linen, velvet, raw wood, brushed metal, and woven rattan. The contrast between smooth and rough, matte and shiny, soft and hard keeps the eye moving and prevents a space from feeling flat.
Start by identifying your room’s dominant texture, often drywall, which is smooth and matte. Then introduce at least three contrasting textures. In a living room, that might be a jute rug (coarse), a leather sofa (smooth with subtle grain), linen curtains (soft with irregular weave), and a reclaimed wood coffee table (rough with visible grain). Add a brass lamp or steel shelving brackets for a hint of reflective metal.
Layering textures works best when you vary the scale. Pair a chunky knit throw with a fine-weave pillow. Combine a large-format tile backsplash with a wood butcher block countertop. Design experts at MyDomaine often recommend mixing at least one natural material with one industrial element to keep spaces grounded yet modern.
Don’t overlook architectural texture. If you’re comfortable with moderate carpentry, consider adding board-and-batten wainscoting, shiplap, or even a DIY plaster finish. Board-and-batten uses 1×4 or 1×6 nominal pine (actual dimensions 3/4″ × 3.5″ or 3/4″ × 5.5″) spaced evenly over drywall, creating vertical lines that add dimension. Install with a nail gun and wood glue, then caulk seams and paint with semi-gloss for easy cleaning. Always locate studs for secure fastening, use a stud finder or knock test to avoid relying solely on drywall anchors.
Repurposing and Upcycling: Budget-Friendly Creative Solutions
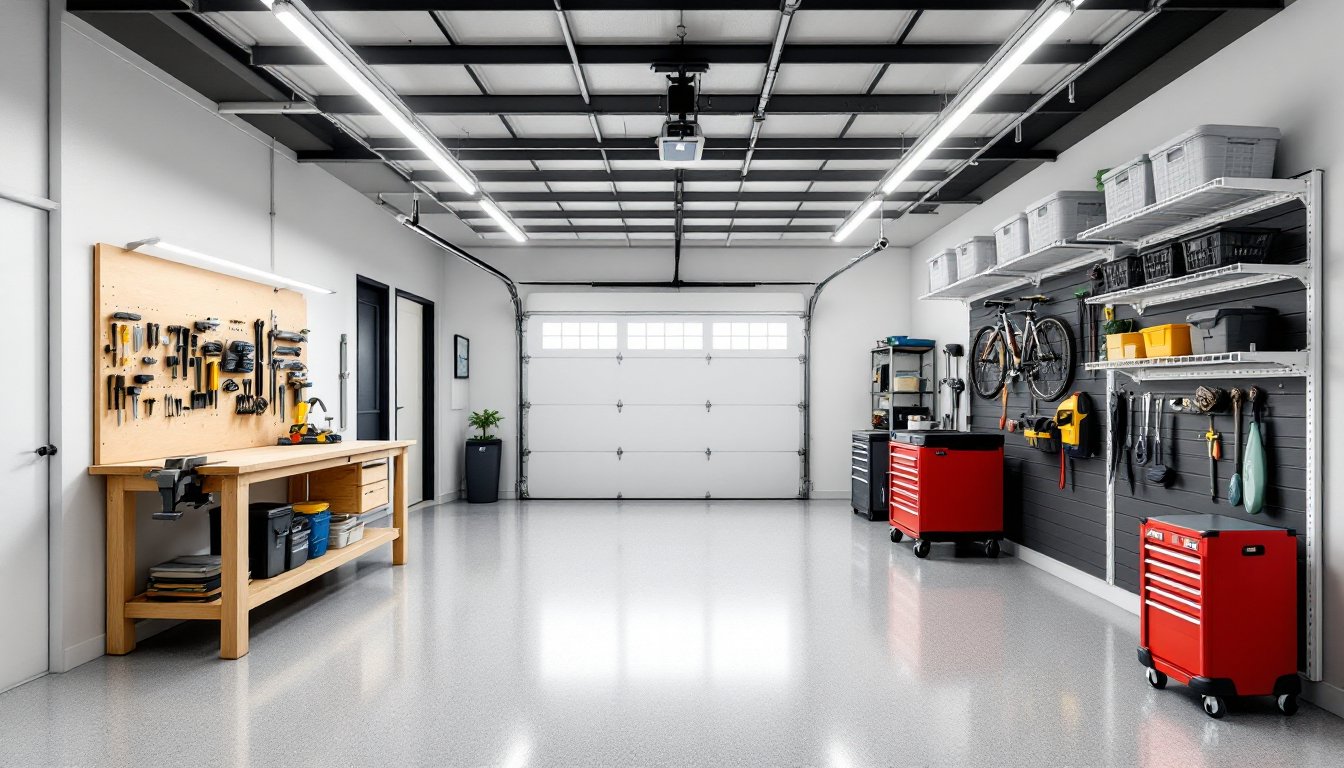
Some of the most creative interiors come from reimagining what you already own or finding new uses for salvaged materials. Repurposing saves money, reduces waste, and adds character that new mass-market pieces can’t match.
Furniture transformations are the easiest entry point. An old wooden ladder becomes a blanket rack or plant stand. A vintage door, planed smooth and sealed, turns into a desk surface supported by sawhorses or metal hairpin legs. A worn dresser gets new life with fresh paint, updated hardware, and wallpaper or contact paper lining the drawer interiors. Always sand glossy finishes with 120-grit sandpaper before priming to ensure adhesion. Use a bonding primer if painting over varnish or laminate.
Architectural salvage offers dramatic focal points. Reclaimed barn wood (check for nails and treat for insects if sourced from a working barn) can become an accent wall, a headboard, or floating shelves. Old window frames, even without glass, make striking wall art or room dividers. Be mindful of lead paint if sourcing materials from homes built before 1978, test with a lead paint test kit before sanding or cutting.
Textiles are prime candidates for creative reuse. Vintage quilts or fabric remnants can be stretched over canvas frames for instant art. Old jeans or canvas drop cloths can be sewn into durable pillow covers. Even worn bath towels can be cut and hemmed into cleaning rags, keeping your project budget lean.
Tool note: For most upcycling projects, a corded drill, sandpaper or an orbital sander, paintbrushes, and a staple gun cover the basics. If you’re cutting wood, a circular saw handles straight cuts, but a miter saw gives cleaner angles for trim work. Always wear safety glasses and a dust mask when sanding or cutting, and work in a ventilated area.
Creating Focal Points with Statement Pieces and Artistic Elements
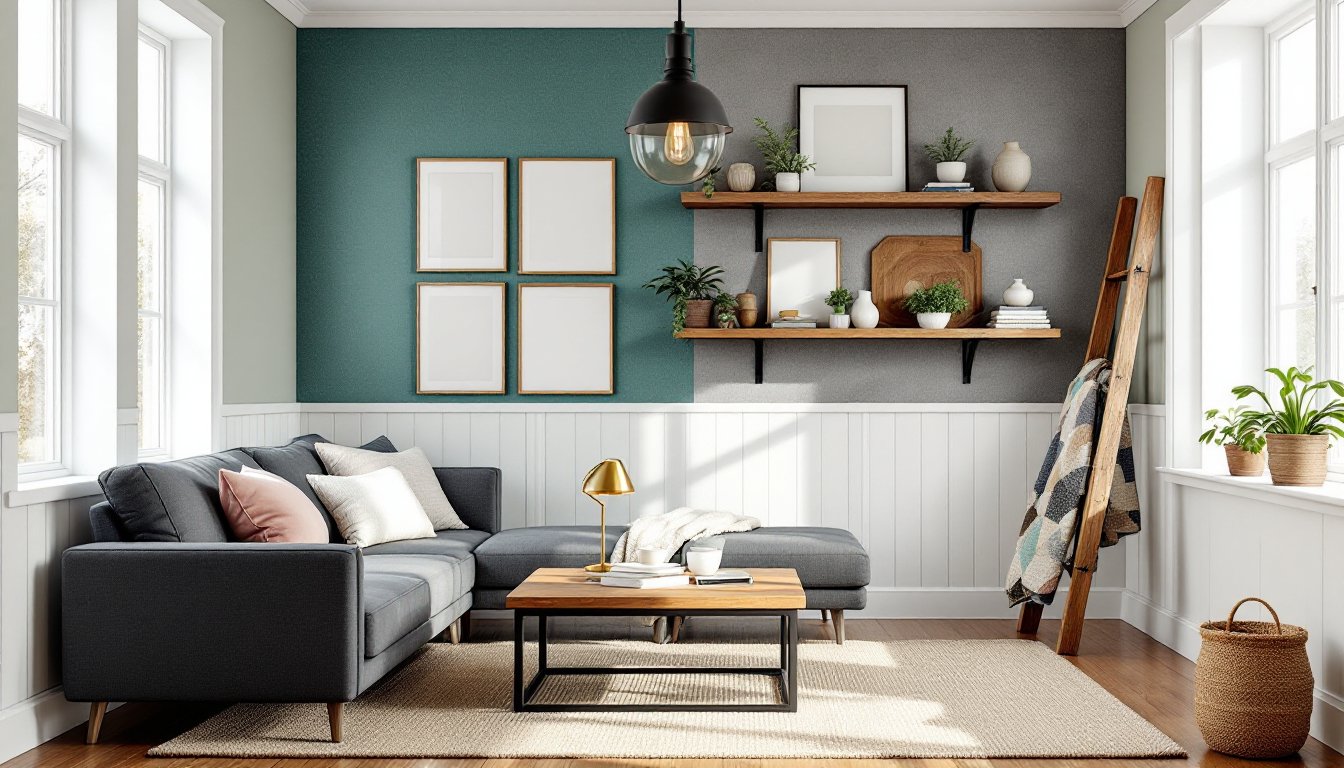
Every room benefits from a focal point, a single element that draws the eye and anchors the design. This might be a fireplace, a piece of oversized art, a bold light fixture, or an accent wall. Without a clear focal point, a room can feel scattered.
Accent walls remain a reliable way to create instant drama. Choose the wall you see first when entering the room, or the wall behind a bed or sofa. Paint, wallpaper, reclaimed wood, or even a grid of framed prints all work. If painting, use painter’s tape and a small trim brush for crisp edges along the ceiling and adjacent walls. Remove tape while the paint is still slightly tacky to avoid peeling.
Statement lighting does double duty, it’s functional and sculptural. A large pendant or chandelier over a dining table, an arc floor lamp arcing over a reading chair, or a row of Edison-bulb sconces flanking a mirror all command attention. When installing overhead fixtures, turn off power at the breaker and use a voltage tester to confirm wires are dead. Most pendant lights include a canopy that covers the junction box: ensure the fixture’s weight is within the box’s load rating (typically 50 pounds for a standard ceiling box, more for a fan-rated box).
Art doesn’t have to mean expensive gallery pieces. Large-scale photography, DIY abstract paintings, or even framed textile samples create visual weight. Hang art at eye level, typically 57-60 inches from the floor to the center of the piece. For gallery walls, lay out the arrangement on the floor first, then transfer measurements to the wall using painter’s tape as a guide.
Trends covered by Decoist show that mixing art styles, modern prints with vintage landscapes, black-and-white photography with colorful abstracts, keeps spaces from feeling too curated. The goal is a collected-over-time feel, not a showroom.
Personalizing Spaces: Making Your Design Uniquely Yours
Personal touches turn a well-designed room into your room. This is where creative interior design shifts from inspiration boards to lived experience. Start by identifying what you actually use and love, not what you think you should display.
Collections make excellent starting points. Whether it’s vintage cameras, ceramics, or concert posters, grouping similar items creates cohesion. Display them on open shelving, in shadow boxes, or on a picture ledge where you can rotate items seasonally. Use transition design elements to blend traditional collections with modern settings.
Custom details don’t require a contractor. DIY wainscoting, picture rails, or even a painted floor pattern add architectural interest. If you’re installing picture rail molding, mount it 12-18 inches below the ceiling, securing it into studs with finish nails. This lets you hang art without putting holes in the walls, just use picture rail hooks and wire.
Personalize with scent, sound, and comfort. A reading nook isn’t complete without good light (task lighting with at least 450 lumens for reading), a comfortable chair, and a small side table. A kitchen feels more inviting with open shelving displaying your actual dishes, not staged props.
Incorporating concepts from opposition in design can also heighten personal expression, think sleek modern furniture against a rustic brick wall, or minimalist shelving holding a chaotic collection of plants. Don’t shy away from pieces that carry memories: your grandmother’s quilt, a flea market painting, or a lamp you rebuilt yourself. Perfection is sterile: personality is creative.
Conclusion
Creative interior design isn’t a style: it’s an approach. It’s choosing the unexpected paint color, salvaging the old door, and arranging your space around how you actually move through it. The design styles you draw from matter less than the intent behind your choices. Start with one room, one bold decision, and build from there.